Pickup Install/Guitar Surgery
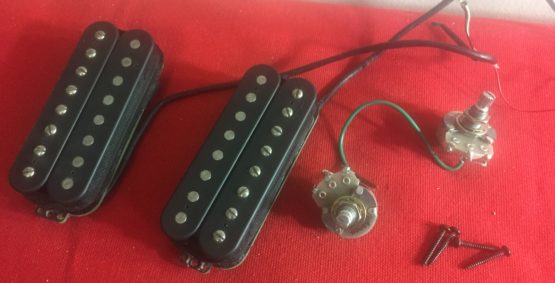
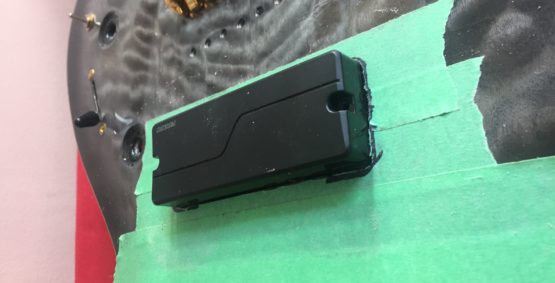
February 6, 2018 7:45 pmIt’s been a very busy couple months at the HGR shop, so I thought I’d take a minute to put out a new article on a more involved modification I did for a client. I was brought an ESP LTD JR-608 by a client for a complete electronics overhaul. The stock Dimarzios were to be removed and replaced with a brand-new Fishman Fluence Tosin Abasi signature set.
Since the Fishmans are a large soapbar-style pickup, routing the sides of the cavities would be required to make the new pickups fit. So let’s get to it!
First I had to strip the guitar of its strings and original electronics. Since I knew I would be working on this guitar for the better part of the week, I made sure to neutralize the truss rods so that they wouldn’t be exerting any force on the neck while the strings were off.
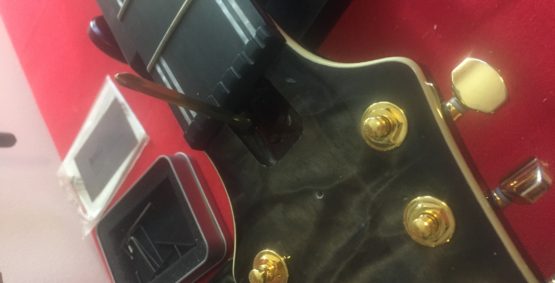
Fortunately the guitar came equipped with a superswitch from the factory, which is needed to get Tosin’s unique switch settings. The miniswitch would be of use as well to toggle between the two voices that Fluence’s are capable of.
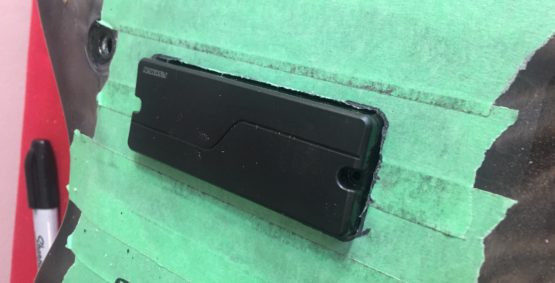
Next step: carefully strip out the old electronics.
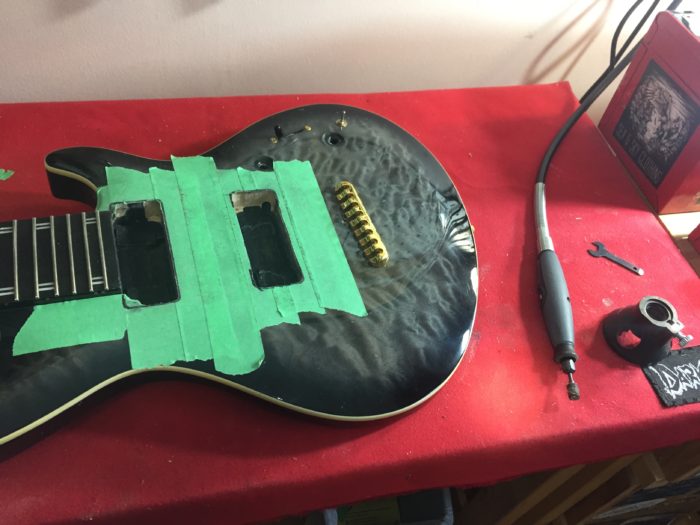
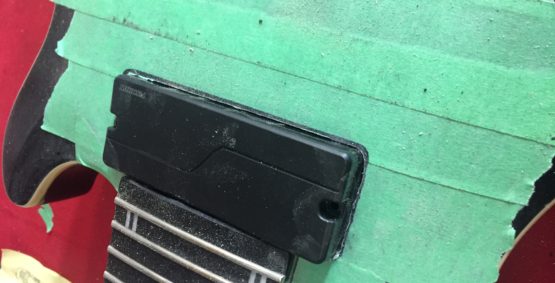
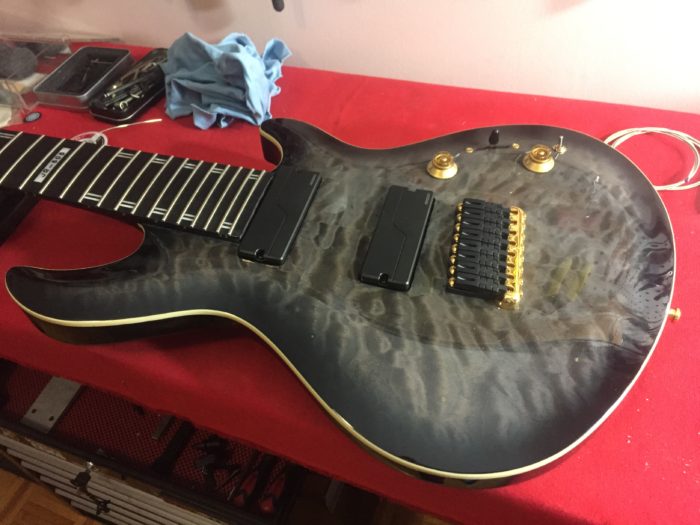
With the old electronics and saddles out of the way, I could mask off the area surrounding the pickups and trace out the areas that I’ll need to route out.
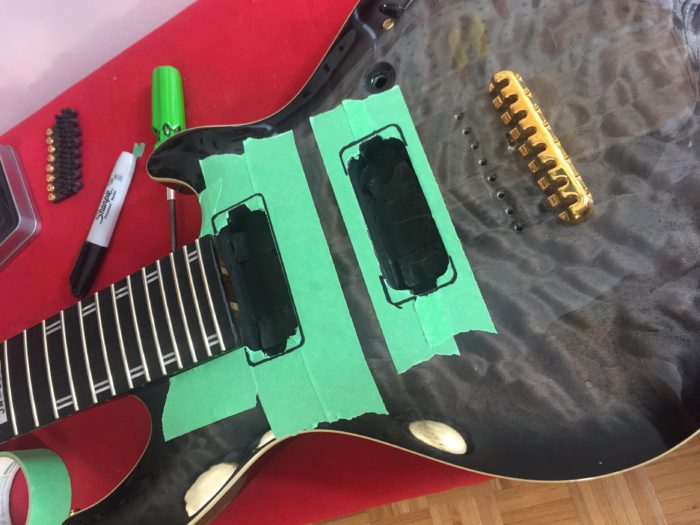
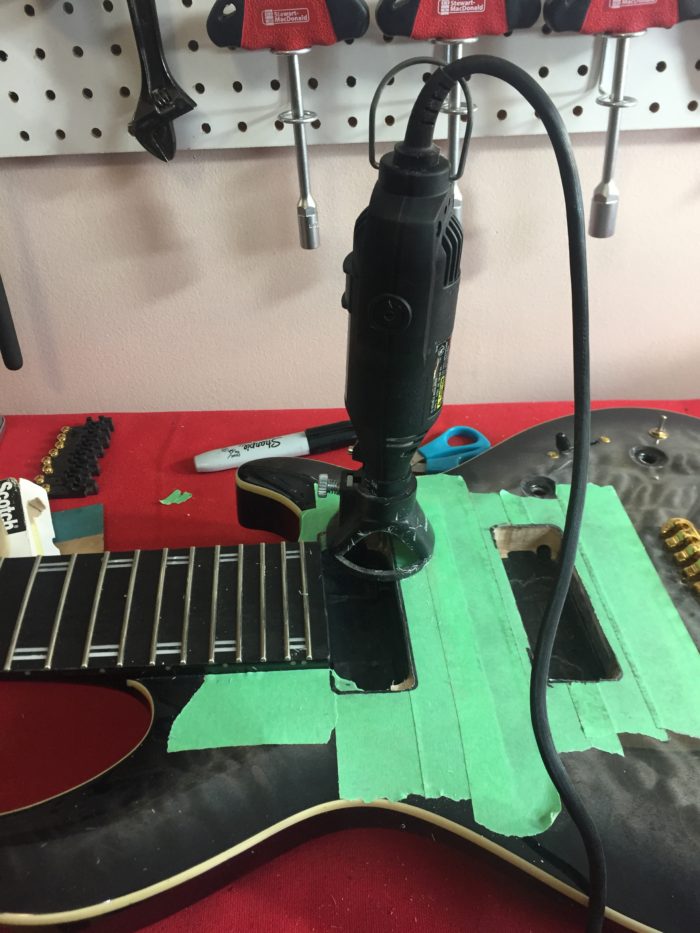
Since there is a very small amount of material that is being removed and I had to work very precisely, I decided to use my Dremel with a 1/8″ router bit instead of using my big Bosch handheld router for the job. Had to be a woodworking ninja here. After making the first series of cuts on the bridge pickup, I could ensure that the pickup will fit in the expanded cavity, before taking my routs all the way down.
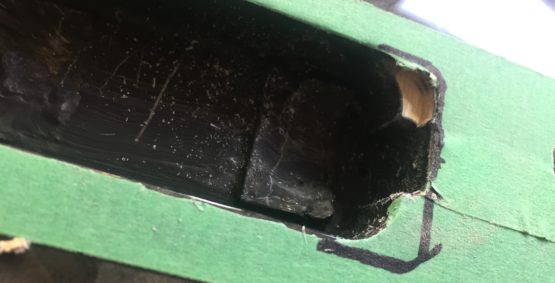
And remember: safety first when working with rotary tools!

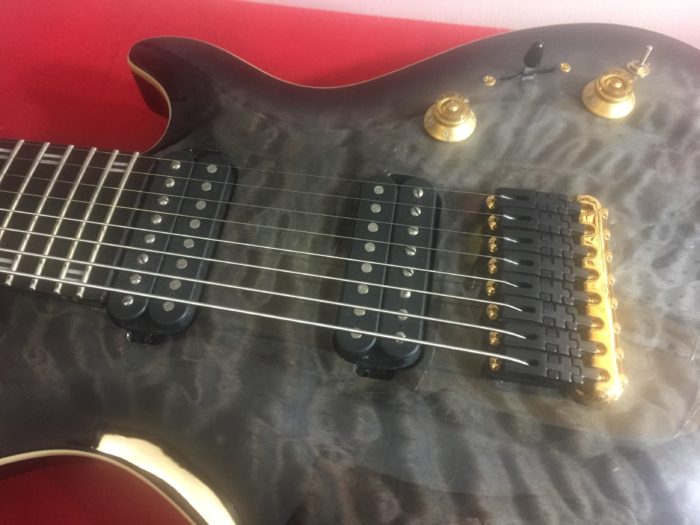
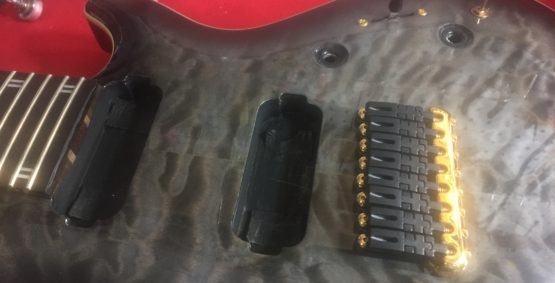
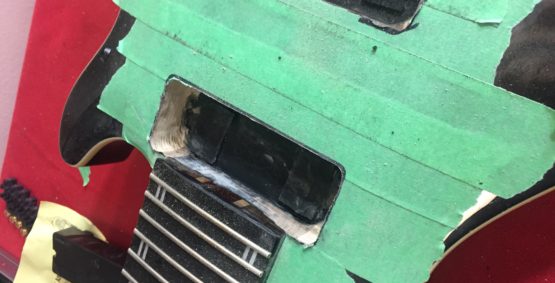
And after a bunch more work, the bridge pickup touches down!
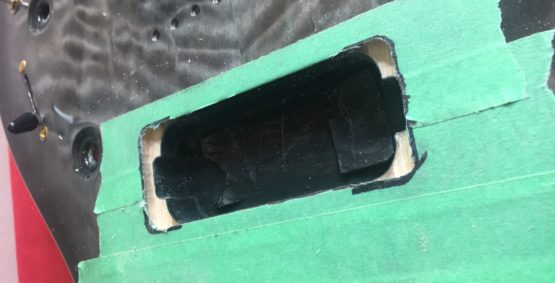
On to the neck pickup!
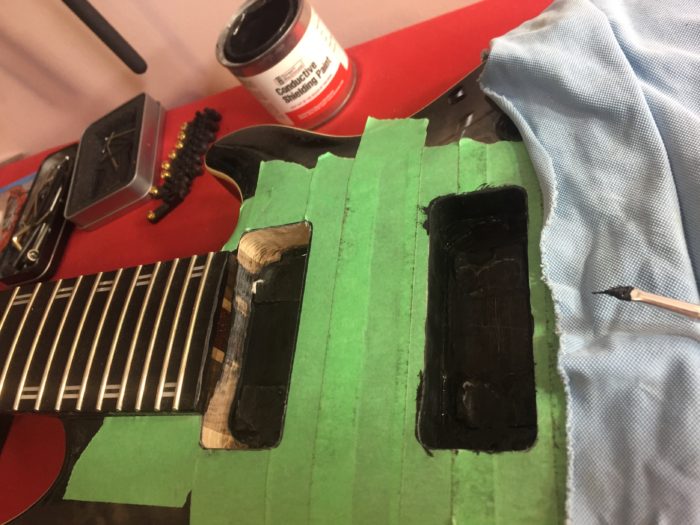
Because of the fingerboard, I wouldn’t be able to use the Dremel’s router attachment to get to the two corners of the cavity that meet the neck, so a new plan had to be made. I’d have to use the drum sander attachment as carefully as possible to get the cavity to where I needed it to be.
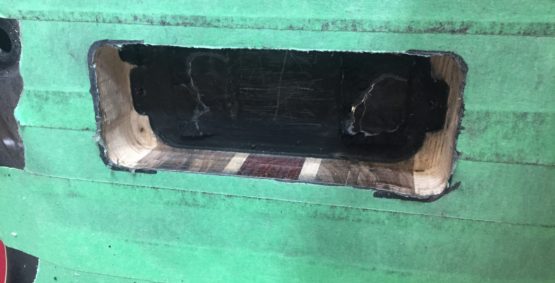
And after some very careful sanding, the neck pickup is a good fit!
The next step is to re-shield the cavities with copper shielding paint to help eliminate any buzzes and hums. I apply three or four coats to a guitar, and let each coat dry for 24 hours before applying the next one, so this takes some time.
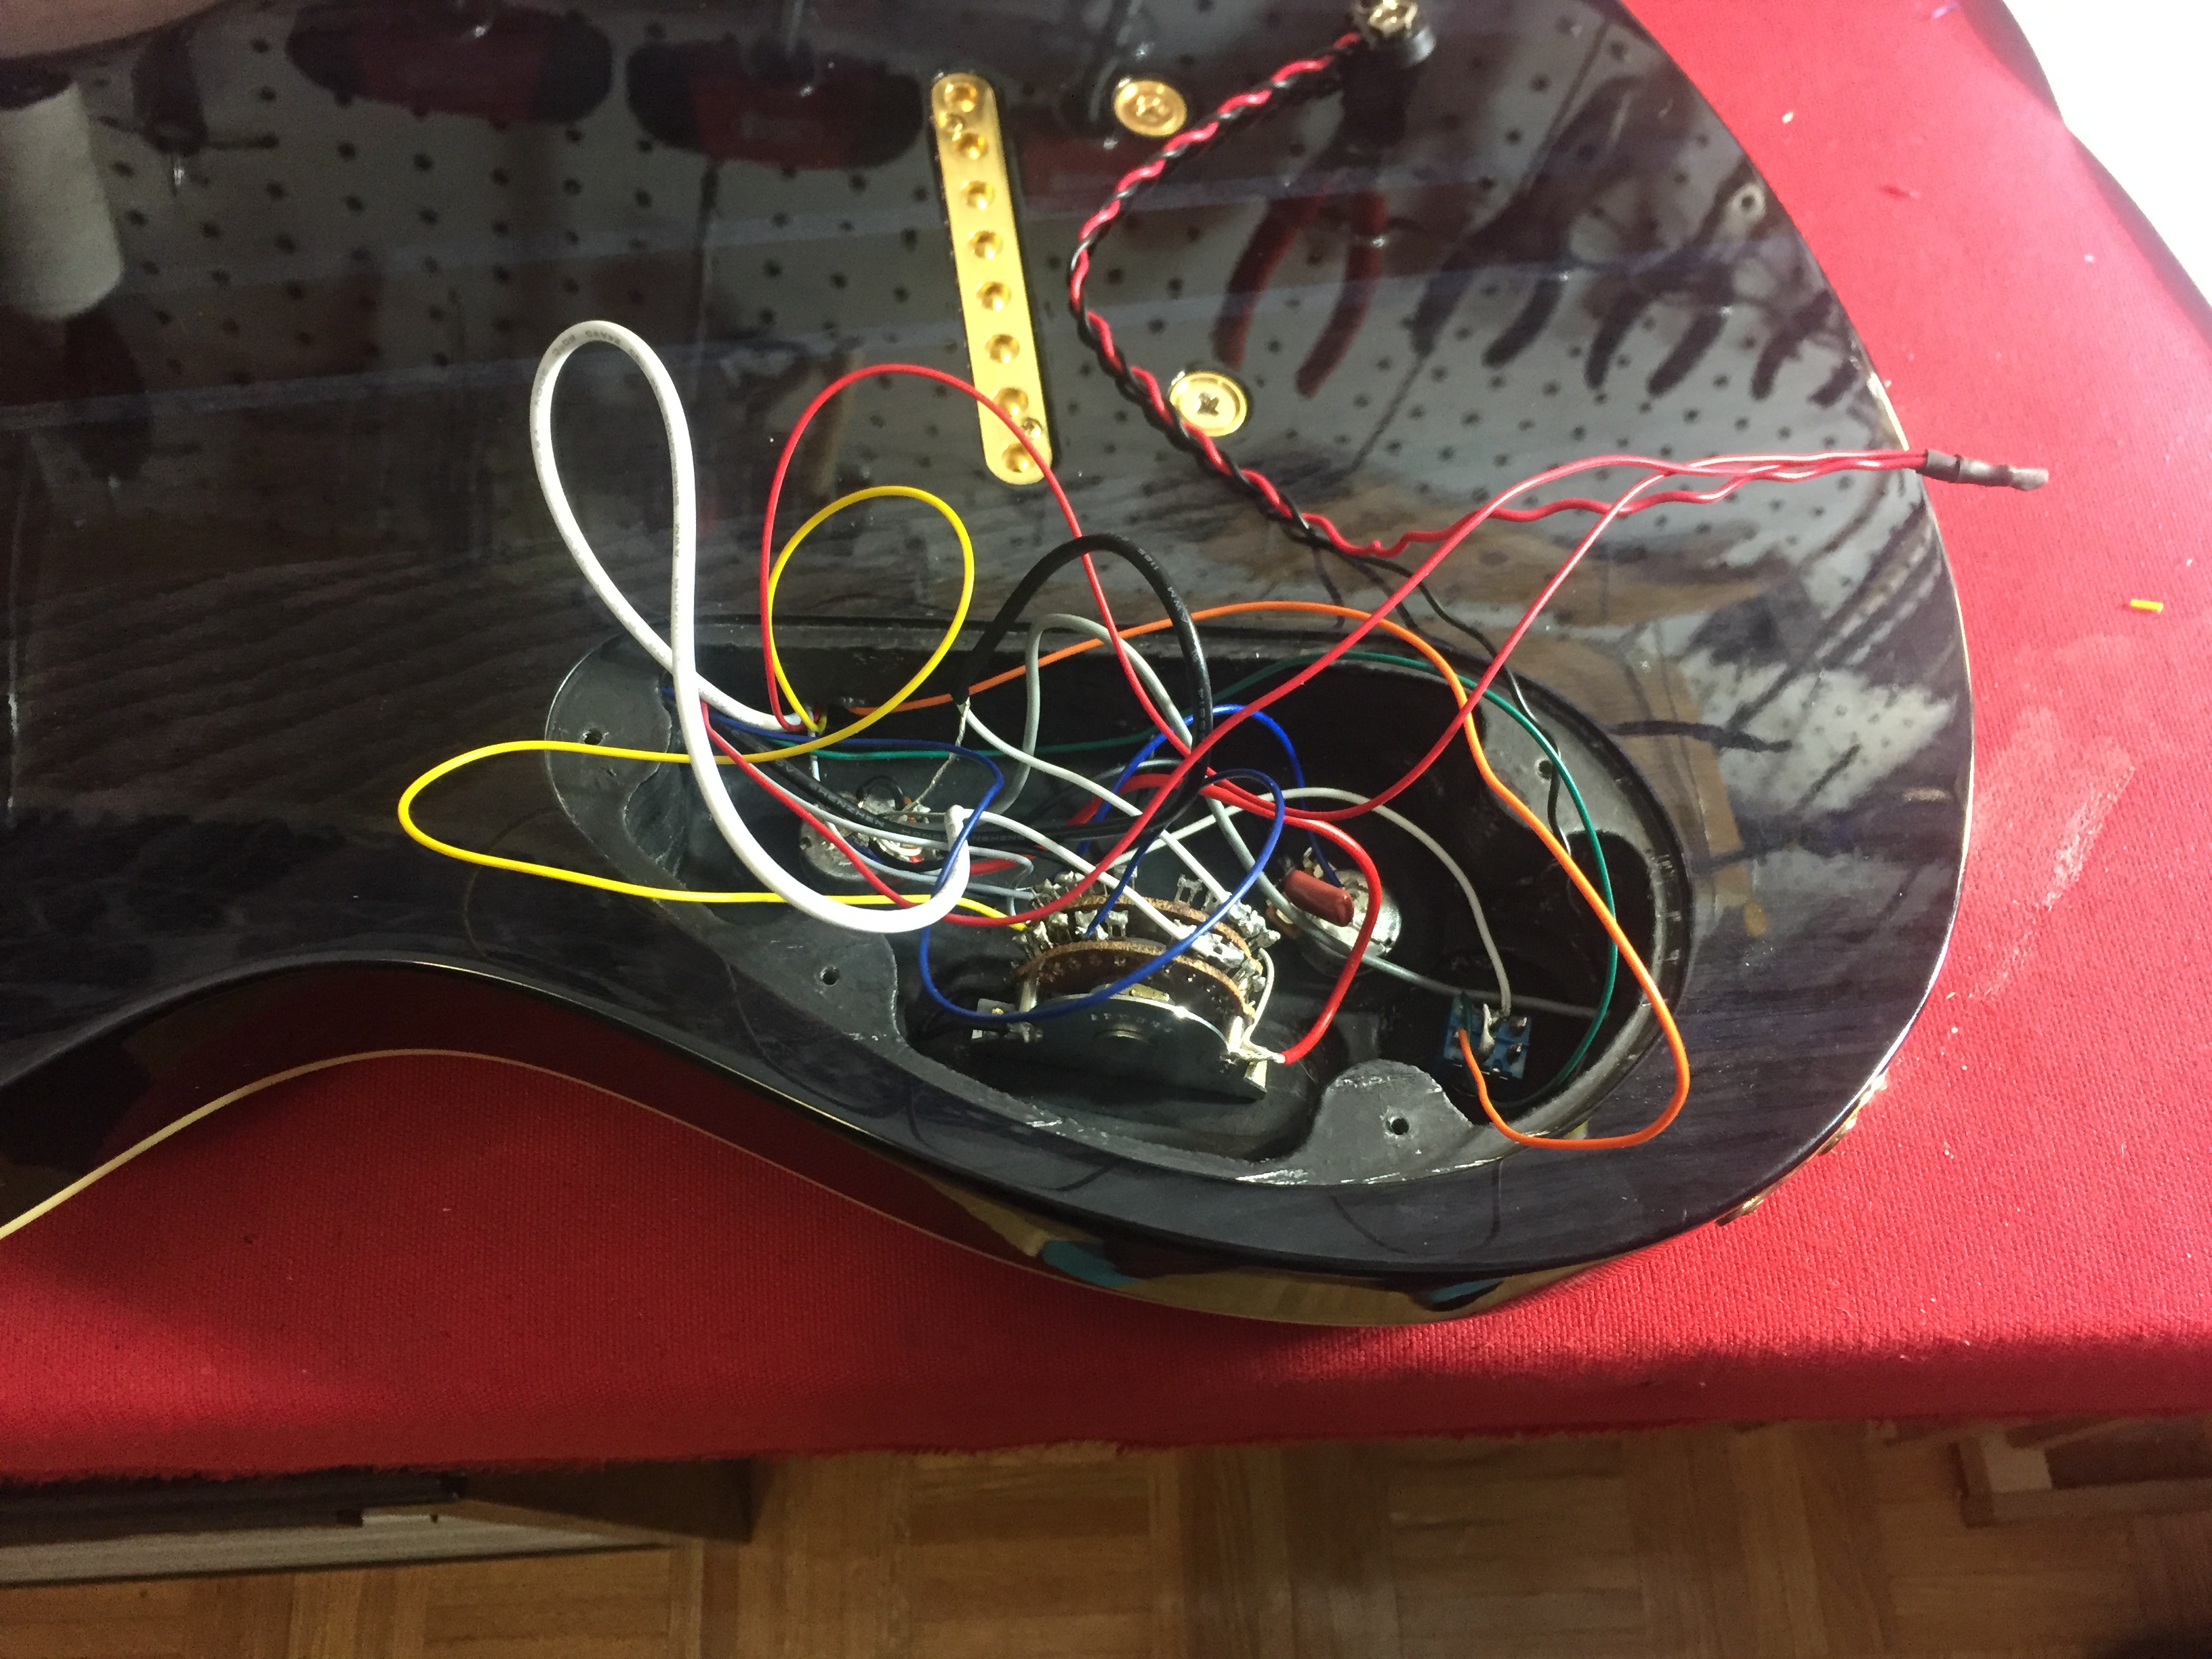
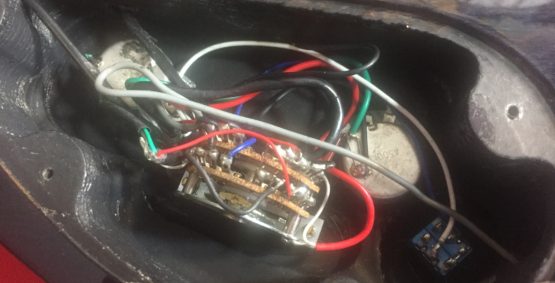
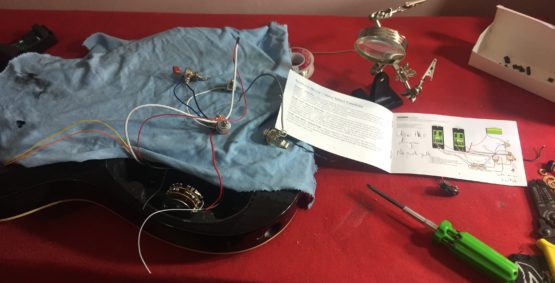
After the guitar is properly shielded, I could start wiring together all the new electronics!
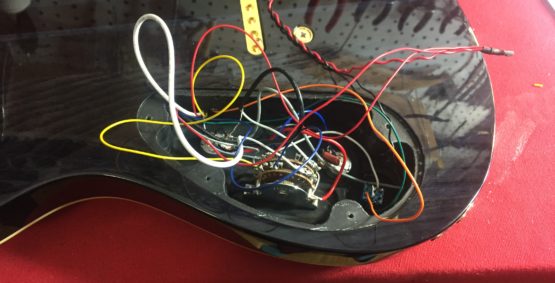
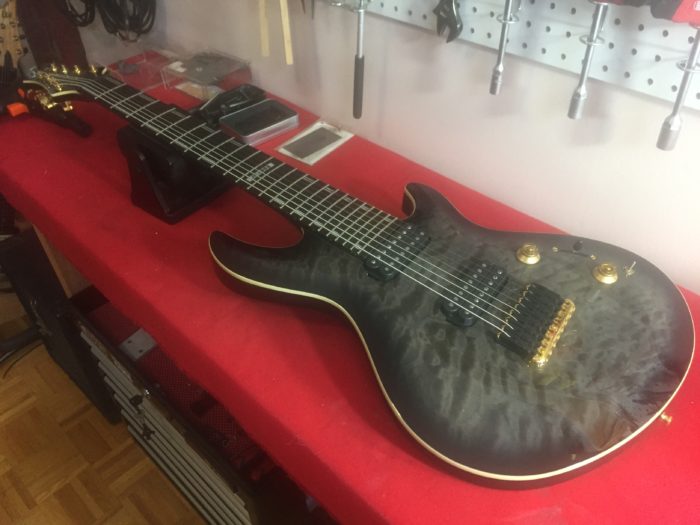
And finally, put Humpty-Dumpty back together again!
Just one more happy client!